A workshop on the teachings of the Medicine Wheel
Informed Consent
A workshop on building trust and respect in your partnership with parents
Getting Started Early
This is the first part of a 4-part series called Planning for Life After School
Getting Ready for the Plan
This is the third part of a 4-part series called Planning for Life After School
Gaining Experience
This is the second part of a 4-part series called Planning for Life After school
Understanding behaviour 2
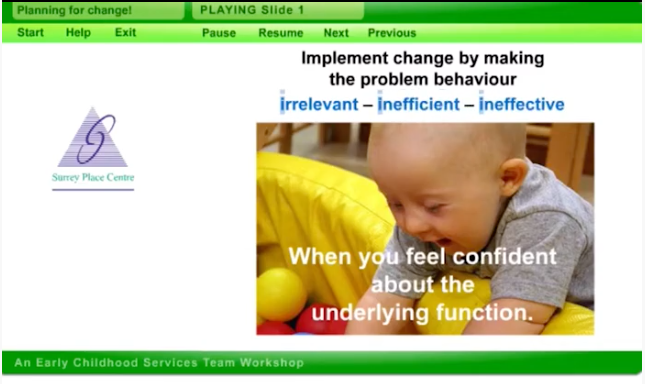
Planning for change
 Play video
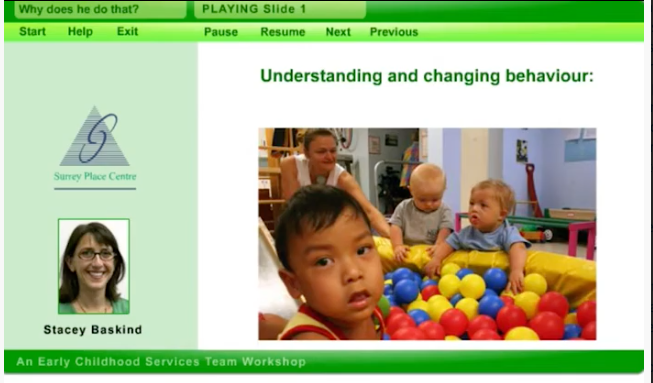
The second part of the behaviour workshop, understanding and changing behaviour
Understanding behaviour 1
Adapted Play Materials
A workshop describing simple techniques to adapt toys
When is a Job Right for Me?
When you are planning to find a job you must have an employment goal. Your employment goal answers the question “What type of work do I want to do?” Some factors to keep in mind include:
- Can I do the job?
- Do I have the education or experience that this job requires?
- Will this job become boring after one year? five years? twenty years?
- How much money do I want to make? How much money will the job pay?
- Am I able to handle the stress of this type of job?
- Am I able or willing to travel to this job?
- Are there jobs available in this area of work?
- Am I willing to work for the companies or institutions that provide this employment opportunity?
Answer these questions honestly and you will have a good idea whether or not the job you want is right for you. Of course everybody works in order to make money. Although your happiness at work is also important, you must be making money in order to meet your responsibilities and in order to maintain a healthy lifestyle. Therefore, you will at times have to sacrifice finding the “perfect” job so that you are able to make money.
What is After High School Graduation?
When your son or daughter starts high school is a good time to start looking. Your son or daughter’s school will help in this process. Agencies and the Guidance department of your son/daughter’s school can also be contacted for assistance with this.
A student with an intellectual disability can remain in school until age 21. If you chose that option, it means that your child will be spending 7 years in high school. The Transition Plan will help you prepare for life after high school.
In the TCDSB, they have designated a staff person, Penny McCormick, from their Career Access Dept. who can assist with after high school transition planning. Ask to have her attend one of your meetings.
The TDSB also has a Career Advisory Committee for Students with Special Needs that hosts “Career Carousel’s” and other interesting presentations. Ask for information about at you child’s school.
It is often suggested that you and your child think about what they want to do after graduating and then work backwards to help you decide what you need to do to get there. Taking note of what your child’s gifts and strengths are and where their talents and interests lay will be help with planning.
Some students want to continue their education after graduating and one program you may want to look at is Humber College’s CICE Program, “Community Integration Through Cooperative Education”. Seneca and George Brown Colleges also offer college vocational programs. You will need to check the admission criteria as it has been reported that the student must be at a grade 5 literacy level.
There are also a number of day programs running in the city. The information for these can be accessed from the article Community Participation Supports – Community Directories – Toronto
- Developmental Services Ontario – Toronto Region [DSO-TR] – a list of MCCSS funded agencies providing Community Participation Supports.
- Fee for service programs in Toronto.
- 211 Toronto – your connection to information about community, social, health and related government services.
Competitive Employment is another option for some individuals. ODSP Employment Supports provide vocational assessments as well as support.
Some individuals choose to include some time spent doing volunteer work and/or being involved in some sort of recreational activity as part of their week’s schedule. Some have even chosen to start their own businesses!
The possibilities are endless and should be as individual as your child is. It is never too early to start planning and to build a network of support around your child and yourself that will help your family throughout your child’s life.
One last suggestion would be to become a member of a local organization that serves individuals with intellectual disabilities. It is one of the best ways to be kept abreast of all the information that is available as well as activities/workshops that you and/or your child may be interested in participating in. If you’re able to get involved, it also provides you with one way of connecting with other parents, from whom I believe you learn the most from and helps to develop a united voice.
Frequently Asked Question:
Parents often wonder when exactly their child graduates and wonder if it has to do with which month they turn 21. I just had it explained to me, and here it is:
A student graduates in June of the calendar year he/she turns 21 – Eg. If someone is born Jan. 1, 1985, they graduate in June 2006. If someone is born Dec. 31, 1985, they also graduate in June, 2006. The month of birth does not matter, only the year of birth. The rationale for this is that when the call goes out for JK registration, it is for children who were born in a specific year – Eg. 2001. In September of the first school year, some children will be 3 years old, some will be 4 years old – but in the 2004 calendar year, by Dec.31 all will be 4 years old. When these students graduate in June of the year they turn 21, some will be 20 and others will be 21 – BUT they will all have had the exact same number of years in school.
Good luck. Your efforts will pay off!