A communication binder can mean different things. In this guide, you as a parent, teacher or early childhood professional, will learn how to create a simple yet powerful tool that your child can use to communicate with other children and people in their life.
A communication binder has pictures arranged in a variety of categories. When choosing pictures, consider your child’s needs and what she is not able to clearly communicate through speech or gestures. Routines and rules can be added for different settings.
Why use a Communication Binder?
Children with special needs sometimes find it hard to be understood when they are in a busy classroom, or meeting someone for the first time. Reasons for this may include:
- unclear speech
- limited vocabulary
- difficulty making eye contact
- forgetting what to say or do when feeling overwhelmed
A child who uses a communication binder is more able to express herself in a way that other children and adults will understand. This may decrease the likelihood that she will resort to crying, hitting, kicking, or having tantrums in an attempt to get her needs met.
A communication binder can also encourage a child to play with and talk to other children without needing an adult to “speak” on her behalf. For example, a child can use her communication binder to show a friend what game she would like to play at recess. Some children have sections on hobbies, such as collecting stickers or baseball cards. Finally, a communication binder can promote sharing and conversation about what a child has done at home, child care, or school each day.
If your child has a speech-language pathologist or support person from an agency, he may provide suggestions about what to include in the communication binder and how to encourage your child to use it.
What to include in a Communication Binder
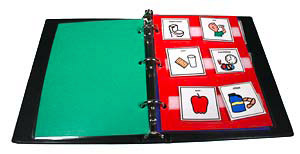
We have provided a sample communication binder to get you started. The communication binder is based on a series of labeled picture symbols that are easily understood by children and adults.
Below is a brief description of each possible section and ideas about what to include:
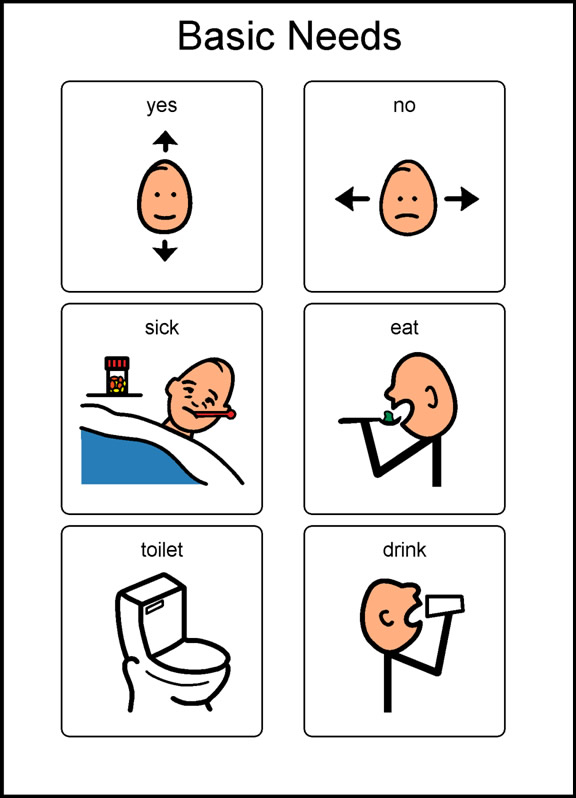
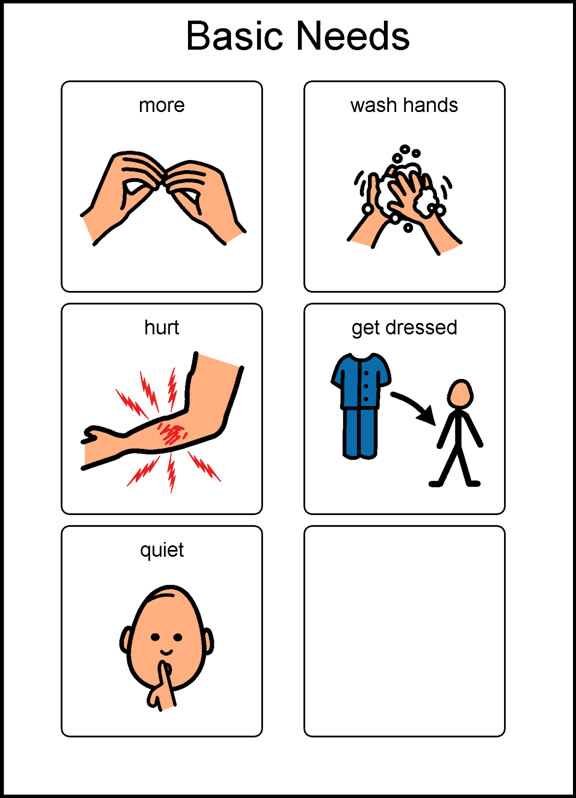
Basic Needs
Placing pictures of basic needs at the front of the binder will make it easier for your child to communicate in a hurry. This section usually includes pictures of requests such as “eat”, “drink”, “washroom”, “more”, and other specific needs for which your child requires help communicating clearly.
In My Classroom
Pictures in this section include classroom activities and routines. Since the binder is a support to your child’s expressive communication, the pictures should include activities that she may request, as well as transitions for which she may need help. When your child starts school or child care, her teacher may want to add more pictures.
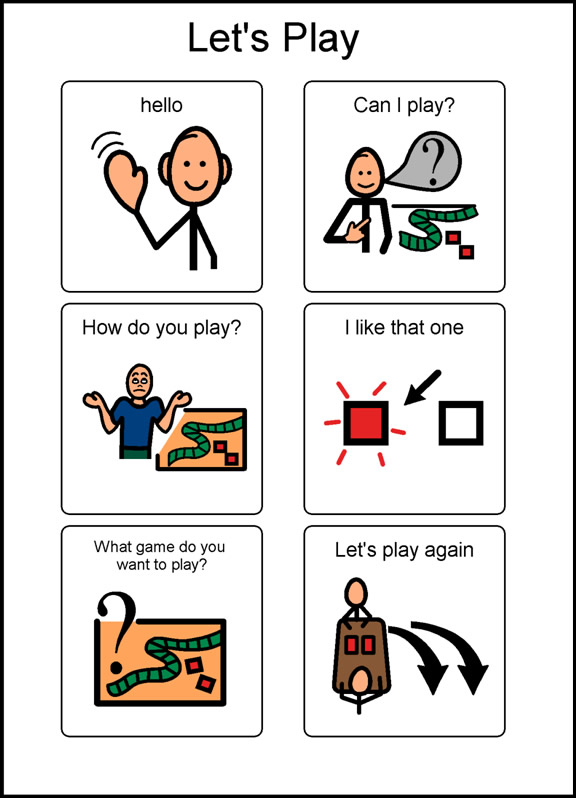
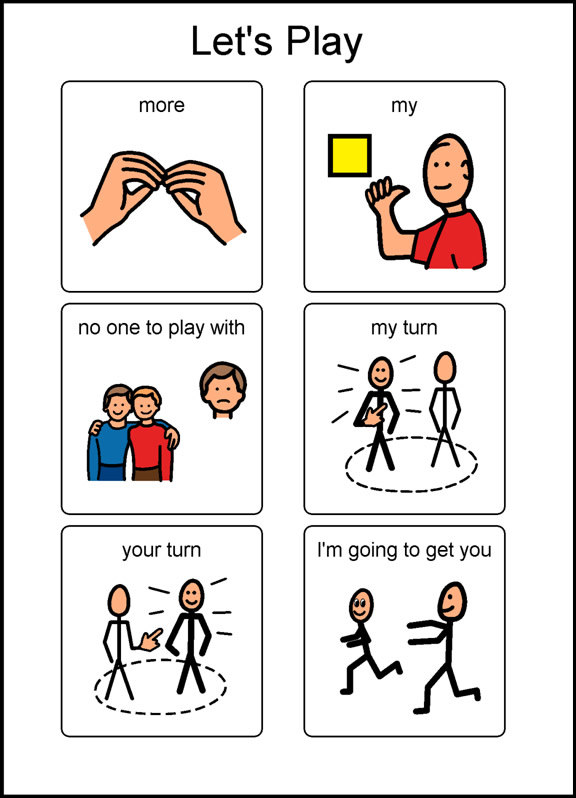
Let’s Play
Your child can use these pictures when she is playing with others, or participating in group activities. These pictures can assist your child with some social skills, such as asking to play, or knowing whose turn it is. Game and activity choices can also be included to allow your child to point out with what she wants to play.
Show and Tell
You may want to add a photograph or picture to the binder every week for your child to share with friends and family. This encourages conversation about something new, or of special interest, to your child and can help her develop social connections.
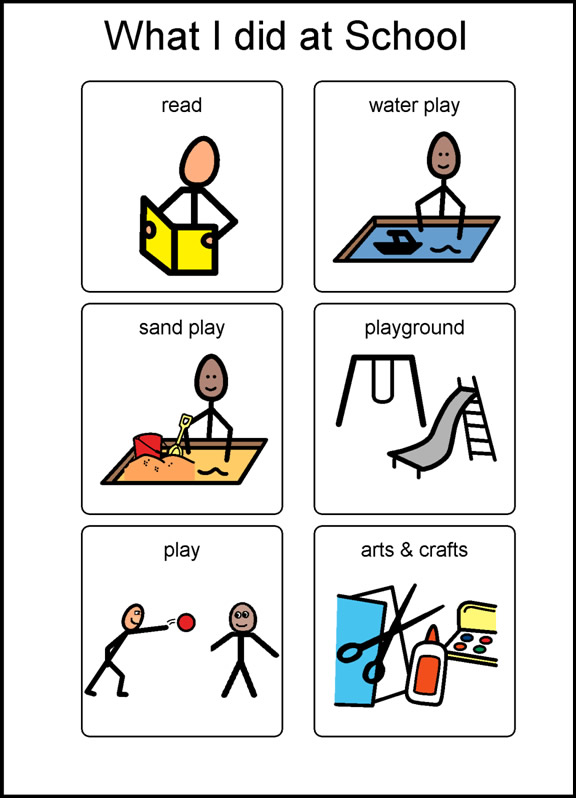
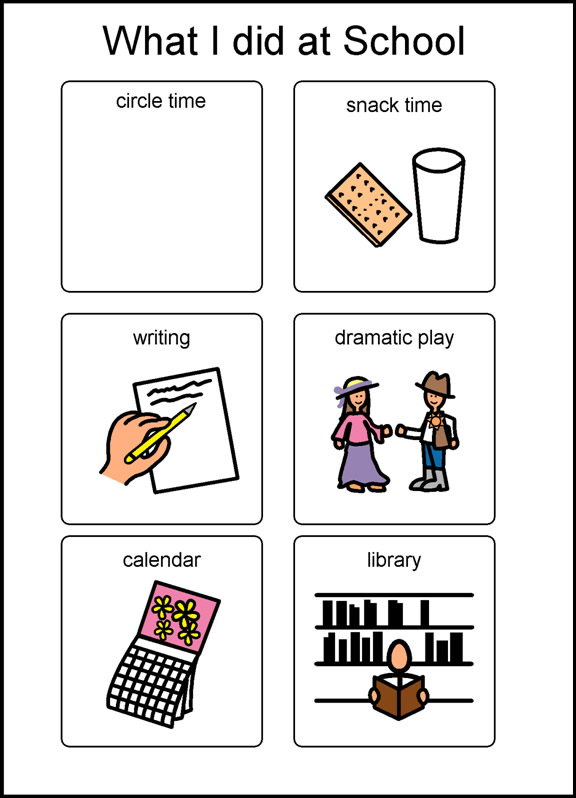
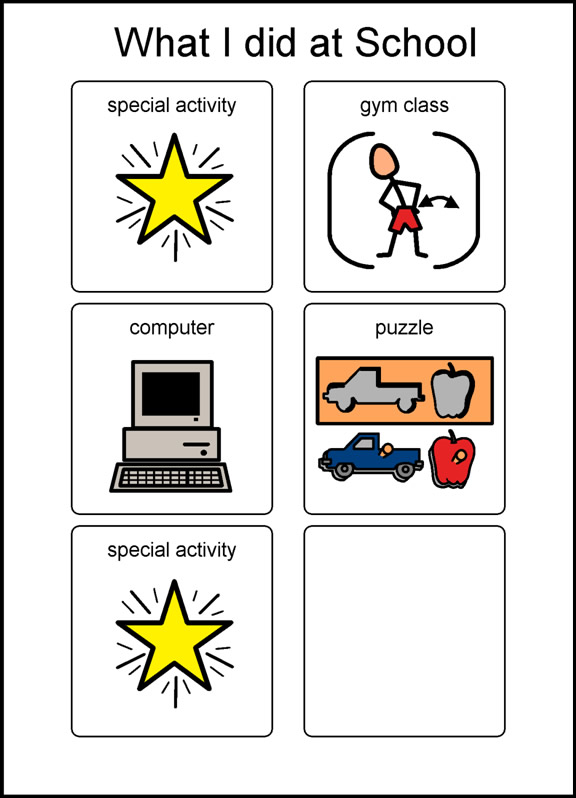
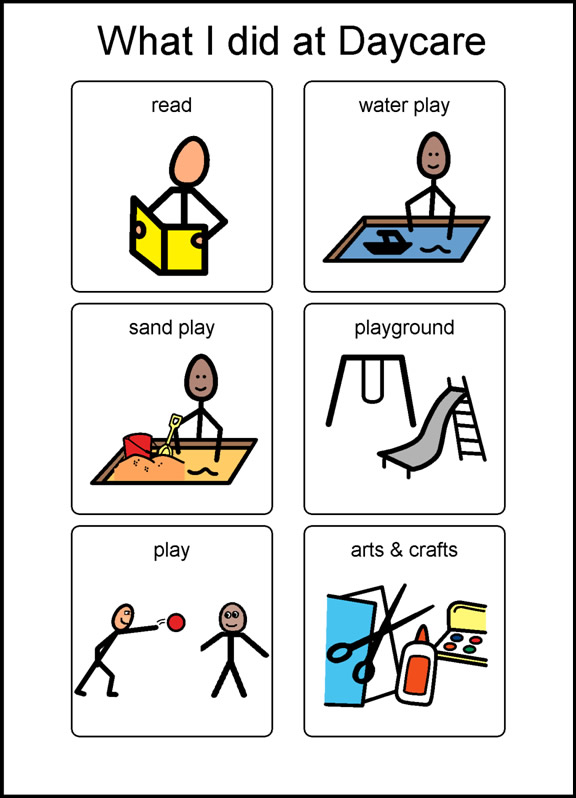
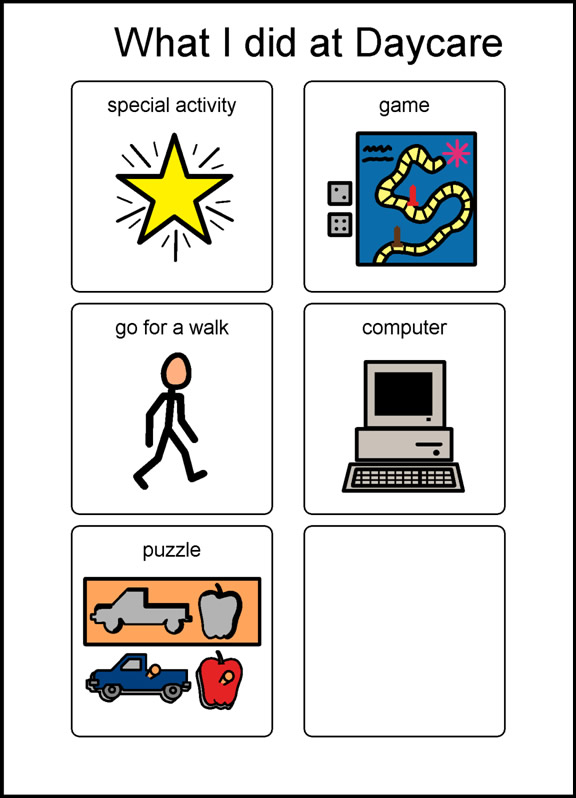
What I Did at Child Care or School
This is a conversation page that can be photocopied and completed by your child each day. It can help your child remember what she has done throughout the day so that she can ”talk” about it at home. The conversation page can be laminated and marked with a dry-erase pen.
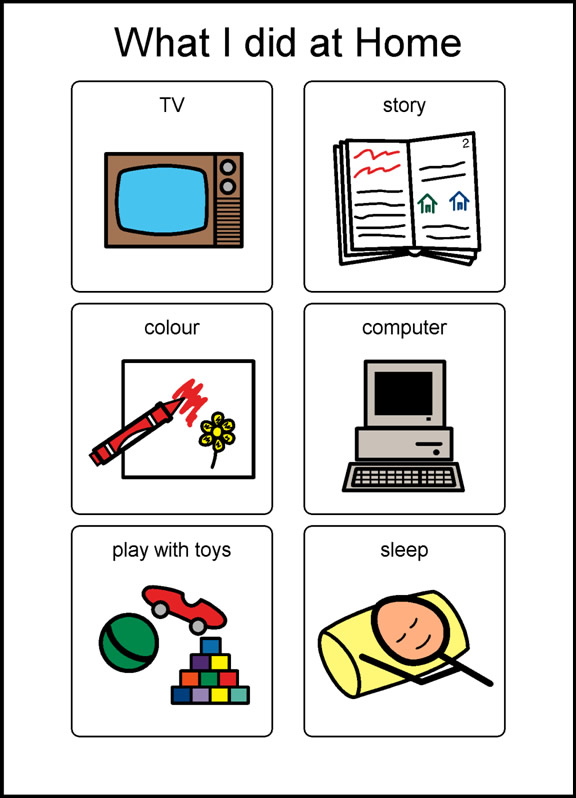
What I Did at Home
This is a conversation page that can be photocopied and completed by you and your child each evening. It can encourage her to share experiences with teachers and classmates. This page can also be laminated and marked with a dry-erase pen.
How to Make a Communication Binder
You will need:
- a computer and printer
- a thin three-ring binder
- 10 three-hole clear page protectors
- 5 three-hole page dividers
- markers and pencil crayons
- stickers and stick-on labels
- glue or tape
Steps:
- Print the pages for the communication binder found at the end of this document.
- Decorate the cover with your child. You may want to glue her picture on the cover.
- Place each page inside a page protector and add to the binder.
- Put page dividers between sections.
Your child’s communication binder is ready to use.
Personalizing Your Child’s Communication Binder
Communication binders are designed to grow with the person using them. The key to increasing your child’s communication skills at home and in the community is to be flexible and creative.
If the picture symbols in our communication binder do not suit your child’s needs, feel free to create your own using computer clip art, your own drawings, photographs, pictures from magazines, or by visiting the Visuals Engine. Just make sure that the pictures are clear and easy for your child to see. Print or type a label in lower case letters above each picture you add to the binder. It will be easier for your child to learn what each picture represents when everyone uses the same words to describe it.
If you find that a binder is too large for your child to handle or carry around try placing pictures in a mini photo album, or glue them into a paper notebook.
If your child consistently uses words or gestures to express certain needs and wants, the pictures representing them can be removed from the binder. Pictures representing words or gestures that are new to your child can be added instead.
Teaching Your Child How to Use a Communication Binder
Children who are comfortable using the Picture Exchange Communication System (PECS) or visual schedules will probably find it easy to use a communication binder. When introducing the communication binder to your child, it is best to review the pictures in each section with her at the time that they will be used. This way you can make sure that she understands the meaning of each picture. Here are some tips on introducing your child to a communication binder:
Read a Book Together
This will help your child learn that pictures and words can be used to represent
people, objects, or actions. It also provides her with opportunities to practice
page turning and pointing skills. Help your child point to different pictures or objects in the book (e.g., ”Barbara, show me dog”, or, “Barbara, where’s the cat?”). Provide your child with gentle hand-over-hand assistance if needed.
Include the Communication Binder in Daily Routines
When going through daily routines open the communication binder and point to the related picture(s). Start by guiding your child’s hand to a picture and labeling it. For example, “It’s snack time.”
Include the Communication Binder in Daily Conversations
If you are having difficulty understanding your child when she is trying to tell you something, point to the binder and say, “Show me”, or, “Use your pictures”. When friends or family visit, you can encourage your child to show them the pictures that she has put in the “Show-and-Tell” section.
Make the Binder Useful to Your Child
Remember to include pictures of important, desired objects and activities. Reinforce your child’s use of the binder by providing the items requested whenever possible.
Your child is ready to use a communication binder independently when she:
- knows what the pictures in the binder mean.
- is able to open the binder and turn its pages.
- understands when she needs to use the binder.
- can get someone’s attention and show them the binder.